
Ninja: Shadow Ascent Walkthrough: Wall Jump Sequences, Grappling Tech & Zero-Detection Runs
Complete guide and studio overview for Ninja: Shadow Ascent Walkthrough: Wall Jump Sequences, Grappling Tech & Zero-Detection Runs, verified by CafeGms Studio for mobile players and web publishers.
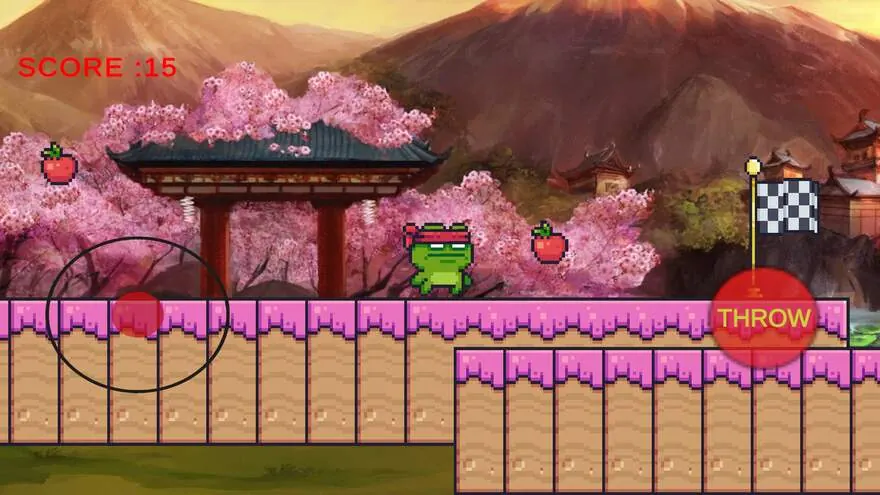
1. Vertical Momentum and Wall-Slide Physics
Wall jumping in Ninja: Shadow Ascent relies on kinetic friction calculation. As your shinobi slides along wooden pagoda pillars or stone fortress masonry, sliding friction increases exponentially after 1.2 seconds.
To gain maximum vertical lift, execute wall jumps within the first 0.3 seconds of contact. Chaining alternating wall kicks between narrow vertical corridors yields a 25% height bonus per consecutive leap.
- Feather Wall Slide: Lightly tap the jump button as you contact the vertical surface to enter a soft slide without alerting guards below.
- Shuriken Distraction: Throwing a kunai into wooden beams or hanging brass lanterns draws guard patrols away from doorway chokepoints.
2. Light, Shadow & Line-of-Sight Cones
Guard vision is governed by realistic atmospheric illumination. Standing in moonlit courtyards makes you visible from 24 tiles away, while crouching beneath eaves or inside bamboo blinds reduces enemy detection radius to zero.
Use smoke bombs sparingly; their tactical smoke cloud persists for exactly 4.5 seconds—ample time to execute three silent takedowns or grapple up to bamboo rafters undetected.
3. Katana Deflection Frames, Kunai Economy & Trap Reading
High-altitude stages introduce overlapping archer crossfires, timed spike shutters, and armored samurai sentinels that punish reckless climbing. Understanding exact frame windows turns narrow survival scrambles into repeatable speedrun splits:
- Active Parry Window (140ms–180ms): Triggering your melee slash right as an enemy arrow enters half a body-length ahead of your shinobi reflects the projectile back along its incoming trajectory, clearing distant perch guards without spending limited kunai charges.
- Kunai Rope-Switch & Lantern Kills: Save ranged kunai exclusively for breaking ceiling alarm bells or sniping shielded archers blocking narrow chimney exits rather than wasting ammo on lone patrolling scouts you can silently drop-assassinate.
- Visual Telegraphing Before Dash Traps: Bamboo pressure plates emit a brief amber glint and faint click 0.35 seconds prior to launching darts—chain a crisp wall-kick immediately onto the opposite beam to use the volley as cover while ascending cleanly.
4. Sector-by-Sector Speedrun Optimization Split Table
Consistent Ghost-Rank clears rely on preserving vertical momentum between wall-to-wall chains and avoiding unnecessary roof detours whenever double-scroll lanterns align along the center shaft.
| Tower Zone | Primary Hazard | Optimal Speedrun Technique |
|---|---|---|
| Lower Courtyard (0–150m) | Patrol Torches & Low Bamboo Fences | Stay along exterior eaves using fast double wall-kicks to bypass ground sightlines completely. |
| Pagoda Mid-Shaft (150–350m) | Rotating Searchlights & Crossbow Sentries | Pause briefly on dark rafters until beam rotation clears, then grapple diagonally across the gap. |
| Summit Spire (350m+) | Wind Gusts & Dual Armored Guards | Deflect first volley to stagger sentries, trigger smoke cover, and chain triple climbs to the roof shrine. |
05. Advanced Sub-Second Room Skips & Shogun Tengu Boss Pattern Loop
Climbing into global S-Rank completion times requires mastering ledge buffer inputs and diagonal kunai cancels. By throwing a decoy kunai toward an upper chime frame-perfect while mid-wall-jump, players alert top-tier patrolling guards off their bridge post before the character even reaches upper rafter height, shaving two to three seconds per pagoda floor.
During the final confrontation against Shogun Tengu under the Scarlet Moon, bait his three-fan wind slash toward the outer pillar before Smoke Veil dashing cleanly behind his cape recovery animation. Chaining mirrored wall-kick plunges cleanly resets combo timers while keeping movement safe from shockwave floor sweeps.
- Buffered Corner Vaults: Pre-input upward climb direction 80ms before touching bamboo eaves for zero idle cling delay.
- Parry Window Mastery: Deflecting glowing red shuriken fills shadow meter energy nearly twice as fast as stealth takedowns.
- Clean Recovery Lines: Maintain altitude along side rafters during boss phase transitions to avoid corner traps.