
Galaxy Shooter Alien Attack: Complete Weapon Tier List, Drone Synergy & Boss Pattern Breakdown
Complete guide and studio overview for Galaxy Shooter Alien Attack: Complete Weapon Tier List, Drone Synergy & Boss Pattern Breakdown, verified by CafeGms Studio for mobile players and web publishers.
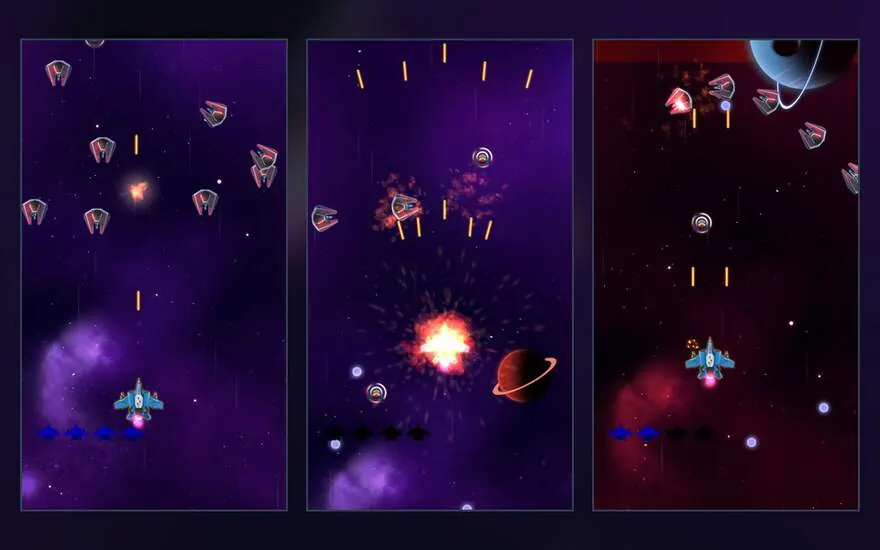
1. Ship Hitbox Mechanics: The Secret of Micro-Dodging
In top-down vertical arcade shooters, beginners often assume the entire ship sprite takes damage when touched by alien laser fire. In Galaxy Shooter, the vulnerability hitbox is strictly a 6x6 pixel glowing core positioned at the center cockpit.
Your wings and engine trails can graze incoming enemy projectiles without incurring shield damage. This grazing mechanic actually builds your Overdrive meter 15% faster per near-miss, allowing skilled pilots to trigger screen-clearing EMP blasts during dense bullet hell curtains.
2. Definitive Weapon Tier List (Version 2.4)
Choosing the right primary cannon and auxiliary wingman setup determines your success against armored bio-mechanical flagships.
Below is our engineering breakdown based on damage per second (DPS), spread coverage, and projectile travel speed across high-density asteroid waves:
- S-Tier: Plasma Scatter Cannon + Dual Homing Drones. Unbeatable for wave clearing; homing missiles eliminate off-screen suicide drones before they breach perimeter.
- A-Tier: Hyperion Beam Laser. Penetrates multi-layered shields and melts boss armor hardpoints without bullet dispersion falloff.
- B-Tier: Twin Vulcan Gatling. High raw kinetic DPS against single targets, but narrow firing cone requires aggressive screen realignment.
- C-Tier: Cluster Flak Cannon. High splash radius but slow muzzle velocity leaves you vulnerable to fast strafing swarmers.
3. Phase-by-Phase Boss Tactics: Dreadnought Leviathan
The Sector 5 Mothership features three distinct attack sequences: Spiral Swarm, Orbital Railgun, and Thermal Core Venting.
During Phase 1 (Spiral Swarm), position your vessel in the bottom-left third of the display. The circular bullet spread expands outward from the central nose; sweeping clockwise creates an open corridor that bypasses 90% of the projectile density.
3. Wave Formation Priority & Weapon Synergy Routing
Clearing Sector 40+ campaigns without burning emergency shields requires prioritizing high-threat backline casters before cleaning up frontline drone escorts. Snipers and laser-beam cruisers lock onto your ship's X-axis position 0.6 seconds before firing; herding those shots toward one corner of the arena opens wide horizontal escape lanes through the opposite flank.
- Spread Plasma vs. Focused Homing Beam: Switch into wide plasma fans during dense meteor and swarm formations, then prioritize concentrated forward-beam modules when confronting single shielded Mothership cores.
- Preserve Magnet Power-Ups Between Waves: Grabbing upgrade capsules late in a wave carries active overdrive bursts directly into the opening phase of the next boss entry, shaving critical seconds off phase-one shield bars.
05. Sector 1–8 Crystal Progression & Wingman Drone Loadout Synergy
Progressing effortlessly into late asteroid sectors hinges on matching wingman drone fire arcs with main fuselage upgrades rather than dumping gold into redundant hull armor too early. Pairing piercing rail cannons with wide spread laser drones handles both dense interceptor swarms and armored dreadnought flank pods simultaneously without forcing risky sideways sweeps into corner bullet traps.
Save emergency EMP smart-bombs exclusively for synchronized cross-pattern volleys during Dreadnought phase three, clearing incoming plasma curtains while granting clean sustained rapid-fire windows straight into the exposed reactor core. Practicing grazing movement within the HTML5 demo builds instant muscle memory for higher Android difficulties.
- Spread + Pierce Hybrid: Covers wide swarm spawns while melting centered boss armor health pools rapidly.
- Magnet Crystal Timing: Sweep upward smoothly between wave transitions to grab drifting upgrade orbs before timers expire.
- Cockpit Hitbox Awareness: Only the glowing central core crystal registers projectile hits—stay calm threading narrow gaps!